Lesson 4: The Basics of Pouring – Flow, Height, and Position
You’ve got your espresso pulled. Your microfoam is silky. Now what? You need to get that milk into the cup the right way. That’s what this lesson is all about.
Pouring is where art meets physics. Three variables control everything: flow rate, pour height, and pitcher position. Master these and you’ll control exactly where milk lands and how it behaves under the crema. Let’s break them down.
Flow Rate: How Much Milk, How Fast
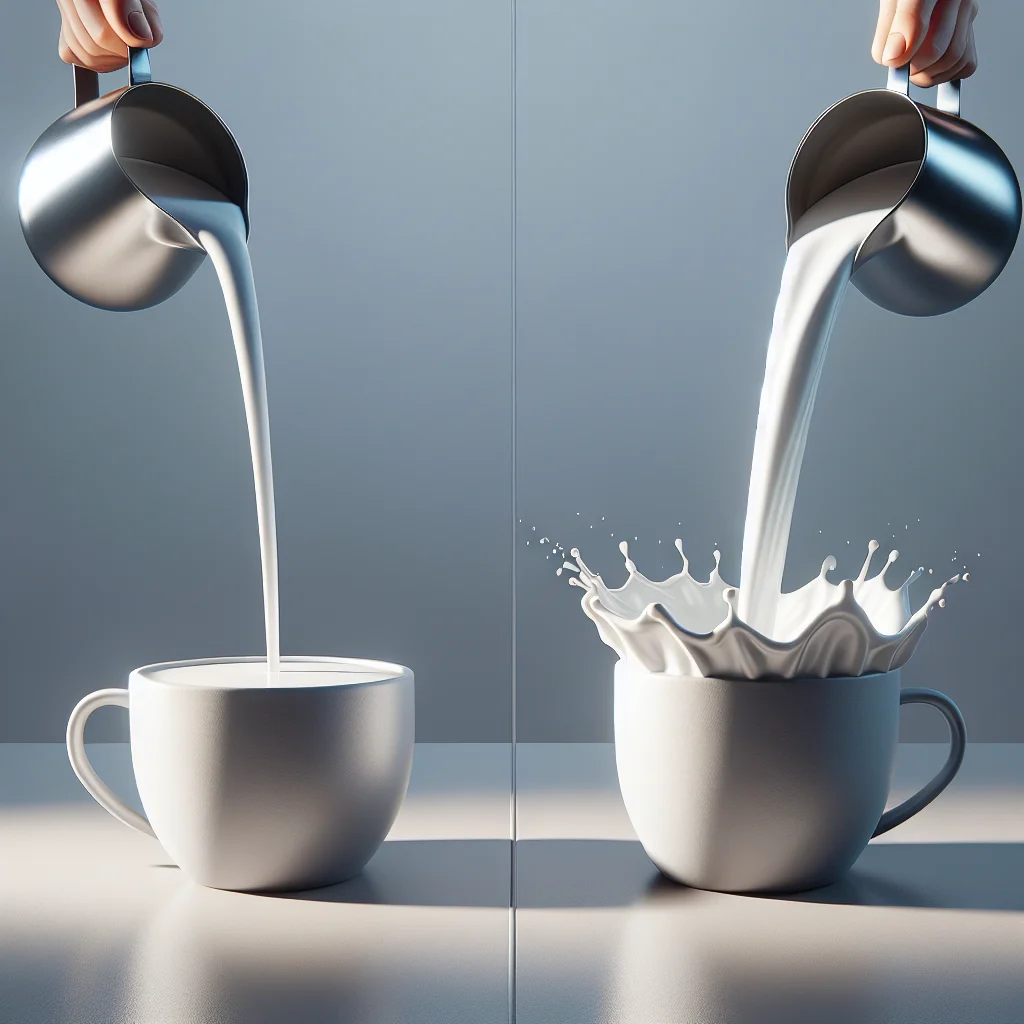
Flow rate is simply the volume of milk leaving your pitcher per second. You control it by tilting the pitcher more or less.
- Slow flow = a thin stream. The milk sinks beneath the crema and blends into the espresso. This is how you build your base — the brown canvas you’ll draw on.
- Fast flow = a thick, generous pour. The milk rides on top of the crema and stays white. This is how visible patterns form.
Here’s the key insight: every pour starts slow and finishes fast. You fill the cup gently first, then open up the flow to paint your design. Skip the slow phase and your pattern drowns. Stay slow too long and you run out of room.
Not sure what “slow” feels like? Aim for a stream about the width of a pencil lead. For “fast,” think roughly the width of your pinky finger.
Practice assignment: Pour steamed milk into a cup of water (no espresso needed). Alternate between slow and fast flow ten times. Get comfortable controlling the tilt.
Pour Height: Close vs. Far
Pour height is the distance between the pitcher spout and the surface of the drink. It works hand-in-hand with flow rate.
- High pour (5–10 cm above the surface): The milk plunges through the crema and mixes underneath. Great for the base-building phase.
- Low pour (spout nearly touching the surface): The milk floats on top. Great for painting designs.
Think of it this way. High = hide. Low = show.
During the first half of your pour, keep the spout high. Once the cup is roughly half-full, bring the pitcher down close — almost kissing the surface. That’s when your pattern appears.
Pitcher Position: Where You Aim
Position means two things: where the stream enters the cup and how the pitcher is angled relative to the cup’s tilt.
A few rules of thumb:
- Start pouring near the centre of the cup. Off-centre pours create lopsided designs.
- Tilt the cup toward you at roughly a 20–30° angle during the first half of the pour. This gives you a deeper pool to fill and keeps crema intact on the far side.
- Level the cup back to flat as it fills. By the time you’re painting your design, the cup should be upright.
Your non-pouring hand does important work here. It holds the cup, controls the tilt, and gradually straightens. Don’t ignore it. If you haven’t practised your cup-hand grip, revisit Lesson 2: Equipment Essentials and How to Hold a Milk Pitcher.
Putting It All Together
Ready? Good. Here’s the full sequence in one sentence:
Tilt the cup, pour slow and high to build the base, then bring the pitcher low, increase the flow, and let the milk paint.
That’s the skeleton of every free-pour design — hearts, tulips, rosettas, all of them. The design-specific moves come later. Right now, your job is to make this sequence feel automatic.
Practice assignment: Pull (or brew) ten drinks and focus only on this sequence. Don’t worry about making any recognisable pattern yet. Just practise transitioning from high-and-slow to low-and-fast. Notice how the white milk appears on the surface when you drop the pitcher down.
Nailing flow, height, and position gives you the foundation for every design that follows. If your microfoam needs work, head back to Lesson 3: Milk Steaming Technique and Microfoam. Feeling confident? Move on to Lesson 5: Your First Free-Pour Design – The Heart and put these basics to real use. You can also track your progress with the Practice Milestones and Self-Assessment Guide.