Lesson 2: Equipment Essentials and How to Hold a Milk Pitcher
Welcome back! In Lesson 1, you learned what espresso and steamed milk actually are. Now let’s talk about the gear you need — and, more importantly, how to hold it.
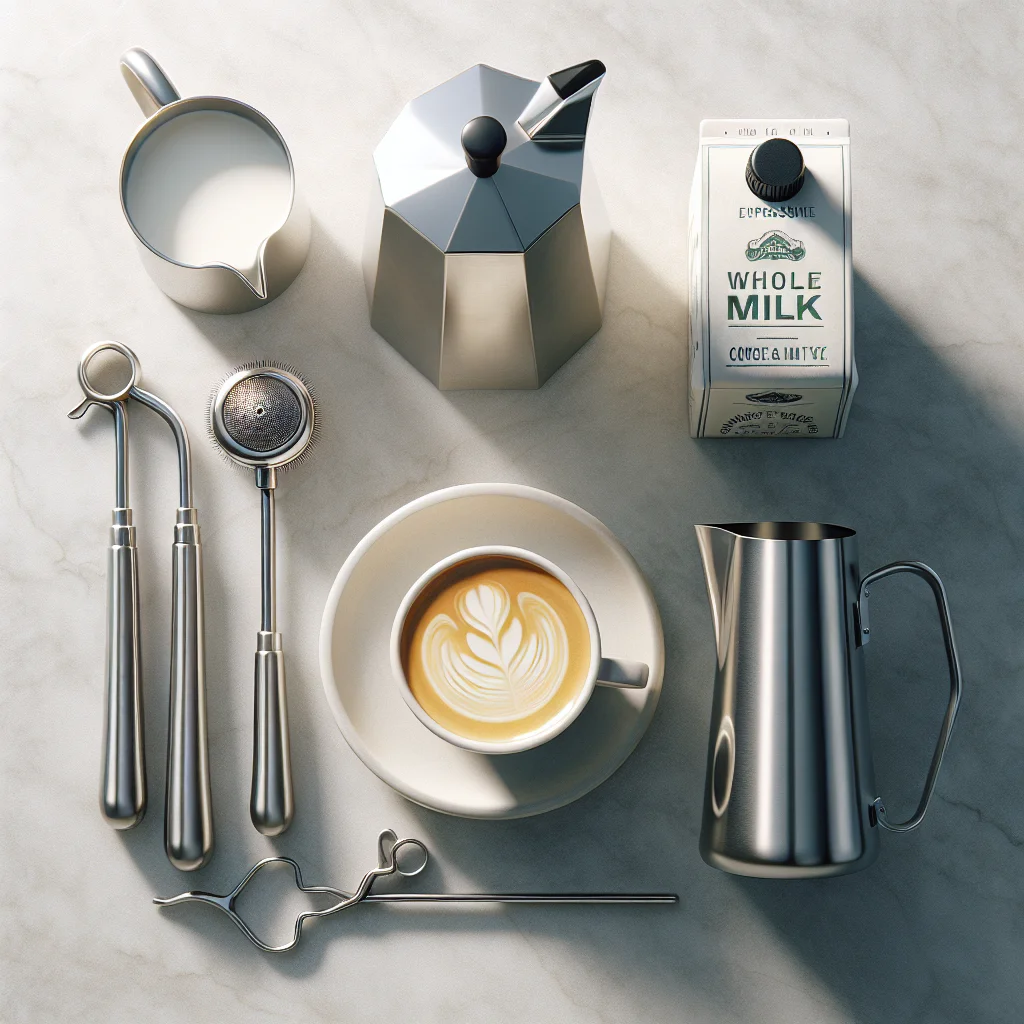
The Essential Tools
Good news: the list is short. You need exactly four things to start practising latte art.
- Espresso machine with a steam wand. This is non-negotiable. You need pressurised steam to create microfoam — the silky, paint-like milk you’ll learn to pour in Lesson 3. A basic home machine with a single-hole steam tip works fine for learning.
- Milk pitcher (also called a frothing jug). A stainless-steel pitcher with a pointed spout is ideal. Aim for a 12 oz (350 ml) pitcher if you’re making single drinks, or 20 oz (600 ml) for doubles. The pointed spout gives you control over your pour stream.
- Fresh whole milk. Higher fat content equals creamier, more forgiving microfoam. Stick with whole milk while you learn. You can experiment later.
- A wide-brimmed cup. A classic 6–8 oz latte cup or a café-style bowl cup gives your designs room to breathe. Narrow mugs make everything harder.
That’s it. No fancy gadgets. No special powders. Just steam, steel, milk, and a cup.
Choosing the Right Pitcher
Not sure which pitcher to grab? Here’s what matters.
Spout shape is the single biggest factor. Pitchers come in three common spout styles:
- Pointed (sharp) spout — best for beginners. It focuses the milk into a thin, controllable stream.
- Round spout — produces a wider pour. Useful later for rosettas, but less precise when you’re starting out.
- Tulip spout — a hybrid shape. Versatile, but not as forgiving as a sharp spout.
Weight matters too. A lighter pitcher lets you feel the milk moving inside. Heavy pitchers dull that feedback. Pick one up empty — if it feels clunky, it’ll feel worse full.
Size tip: Fill your pitcher only about one-third full of cold milk before steaming. The milk expands. If you overfill, you’ll run out of room for microfoam — and make a mess.
How to Hold the Pitcher
Ready? Good. This is the skill most beginners skip — and then wonder why their pours are shaky.
Grip the handle with your dominant hand. Wrap your fingers around it like you’d hold a mug of tea — relaxed, not white-knuckled. Your thumb rests on top of the handle or curls over it gently.
Keep your wrist loose. A stiff wrist kills control. You need to tilt, rock, and wiggle the pitcher during a pour. All of that motion comes from the wrist, not the arm.
Anchor your elbow near your ribs. This stabilises the pour. Think of your forearm as a lever and your elbow as the pivot point. Big arm swings create splashes. Small wrist movements create art.
Use your non-dominant hand on the cup. Tilt the cup toward the pitcher at roughly a 20–30° angle. This shortens the distance between spout and surface — critical for getting designs to appear. You’ll practise this tilt extensively in Lesson 4.
Quick practice assignment: Fill your pitcher with water (no need to waste milk yet). Hold it with the grip described above. Practise tilting and pouring water into a cup from a height of about 5 cm. Do this twenty times. Focus on a steady, unbroken stream. Symmetry doesn’t matter — smoothness does.
Wrapping Up
You now know every tool you need and exactly how to hold your pitcher. These fundamentals feel small, but they underpin every single pour you’ll ever make. Lock in the relaxed grip, the elbow anchor, and the wrist-driven motion before moving on.
When you’re comfortable, head to Lesson 3: Milk Steaming Technique and Microfoam — where you’ll turn cold milk into the glossy, pourable canvas that makes latte art possible. Want to check your overall progress? Visit the Practice Milestones and Self-Assessment Guide anytime.