Lesson 3: Milk Steaming Technique and Microfoam
Prerequisite: Make sure you’ve completed Lesson 2: Equipment Essentials and How to Hold a Milk Pitcher before diving in. You need a comfortable grip and the right pitcher size. Got those? Good. Let’s steam.
Why Microfoam Is Everything
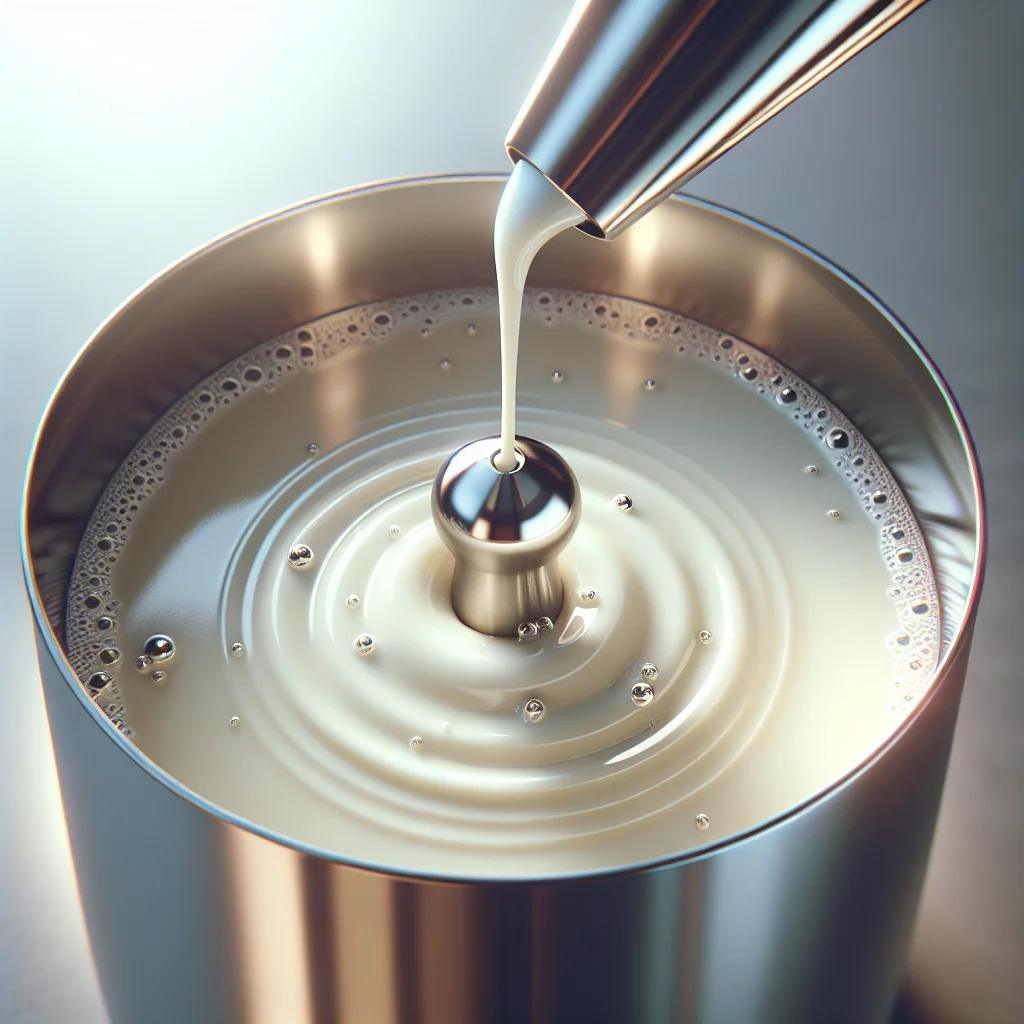
Here’s the truth. You can nail every pouring technique in the world and still produce ugly latte art if your milk is wrong. Microfoam — milk steamed so that its bubbles are tiny and invisible to the naked eye — is the foundation. Think wet white paint. Glossy. Smooth. Pourable.
Big, visible bubbles? That’s dry foam, and it sits on top of espresso like a blob. It won’t flow. It won’t form shapes. Microfoam integrates with the espresso, creating contrast and clean lines.
So how do you get it? Two phases. That’s it.
Phase 1: Stretching (Introducing Air)
Start with cold, fresh milk filled to just below the spout of your pitcher. Cold milk gives you more time before it overheats.
- Purge your steam wand. A quick blast clears condensation. Point it into a towel or drip tray.
- Submerge the tip just below the milk’s surface — roughly 1 cm deep.
- Open the steam valve fully. Half-power makes everything harder.
- Lower the pitcher slightly until you hear a gentle “tss-tss” sound. That hissing means air is entering the milk. This is stretching.
Not sure if you’re doing it right? If the sound is a loud screech, the tip is too high. If there’s no sound at all, it’s too deep. Aim for a soft, rhythmic chirp.
Stretch for about 3–5 seconds with a standard 350 ml pitcher. You only need a small volume increase — roughly 20–30%. Over-stretch and you’ll end up with stiff, bubbly foam you can’t pour.
Phase 2: Texturing (Spinning and Heating)
Once you’ve introduced enough air, it’s time to blend it in.
- Raise the pitcher so the steam tip sits about 1 cm below the surface. The hissing should stop.
- Angle the pitcher slightly so the milk begins to spin in a whirlpool. You’ll see a smooth, rolling vortex.
- Hold this position and let the spinning do the work. The whirlpool breaks big bubbles into microscopic ones.
Keep going until the pitcher feels hot but not painful against your hand — around 55–65 °C (130–150 °F). A common beginner test: press the bottom of the pitcher against the inside of your wrist. Too hot to hold for more than a second? You’ve gone too far.
The Finish: Knock, Swirl, Pour
Done steaming? Move fast. Milk starts to separate within seconds.
- Knock the pitcher once on the counter. This pops any remaining surface bubbles.
- Swirl the pitcher vigorously in a circular motion. The milk should look like melted ice cream — thick, glossy, uniform.
- If you still see bubbles, swirl harder. If the surface looks matte or chunky, the milk was over-stretched or overheated. Start over.
Not sure if your foam is ready? Spoon a small amount onto a plate. It should flow slowly and settle flat, not hold peaks.
Quick Practice Assignment
Steam five pitchers today. Don’t pour any latte art yet — just focus on the sound, the timing, and the final texture. After each attempt, pour the milk into a plain cup and look at the surface. Glossy and smooth? You’re on track. Bubbly and stiff? Shorten your stretching phase. Thin and watery? Stretch a beat longer.
Keep a mental note of how many seconds you stretch and where the tip sits. Consistency comes from repetition, not luck.
Microfoam is the single skill that separates messy pours from clean ones. Master it here and everything ahead gets easier. When your milk looks and pours like wet paint five times in a row, you’re ready for Lesson 4: The Basics of Pouring – Flow, Height, and Position. Want to check whether you’re hitting the right benchmarks? Visit the Practice Milestones and Self-Assessment Guide for a full checklist.